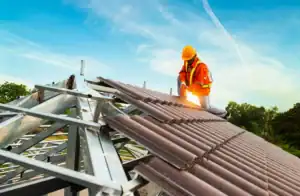
Part 1: When to Perform an Emergency Repair
Not every post-storm scenario calls for immediate rooftop work. Before sending anyone up a ladder, confirm that these three conditions are met:
- Safe access: Winds have died down, lightning risk has passed, and no overhead hazards remain.
- Immediate need: Active leaking or structural compromise.
- Temporary fix is possible: Materials are available to stabilize or waterproof the area until a permanent repair can be made.
Part 2: Critical Emergency Repair Kit
Always have these essentials on hand when responding to active weather events or urgent calls:
- Heavy-duty roofing tarp (preferably UV-rated)
- Roofing nails or cap nails
- 2” to 4” wood lath strips
- Utility knife and shears
- Hammer or nail gun
- Sealant/roofing cement
- Safety harness + anchor system
- Headlamp or flashlight
- PRO TIP: Chalk or wax pencil for marking and a camera/smart phone to document damage
For smaller areas of damage, temporary repairs often use synthetic underlayment or patch materials instead of full tarps—providing a quick, short-term barrier against moisture until a full repair can be made.
- Pro-Tip
Keep emergency kits pre-loaded in work vehicles during storm season to cut down deployment time.
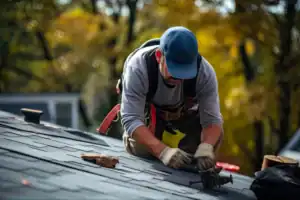
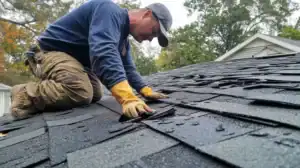
Part 3: How to Tarp a Damaged Roof
Step 1: Assess from the ground first.
Step 2: Secure the ladder.
Step 3: Clear debris.
Step 4: Cut tarp to size.
Step 5: Anchor with lath boards.
Step 6: Overlap if needed.
Step 7: Mark the area.
Part 4: Weather Watch-Outs
Before climbing on a roof to perform an emergency repair, check:
- Wind speeds under 30mph
- No active lightning within 10 miles
- Rain is not forecast within the next hour (if sealing or tarping)
- Follow manufacturer recommendations for adhesive application temperatures—many require 40°F or higher for proper bonding.
- No ice on the roof surface
If any of these are in play—delay. No emergency fix is worth risking serious injury or loss of life. Always prioritize safety first, even if it means waiting for conditions to improve or bringing in additional support.
Part 5: After the Emergency: What to Document
Once the immediate danger has passed, thorough documentation is essential. Capture clear photos of the damage, temporary repairs, and surrounding conditions to support claims, justify repair decisions, and protect all parties involved.
- Photos of the damage pre- and post-repair
- Location and size of affected slope(s)
- Temporary materials used (tarp, sealant, fasteners)
- Estimated time on site
- Any structural hazards observed
- Recommendations for follow-up repair
Keep this record attached to the claim or repair estimate for audit purposes.
Part 6: Fast Doesn’t Mean Reckless
Emergency roof work is high-pressure, but it doesn’t have to be high-risk. With the right gear, methodical steps, and awareness of environmental hazards, adjusters and roofing pros can safely stabilize damage and protect the claim from escalating. The key is to act fast—but act smart.